We are often asked if our handmade paper is suitable for digital printing and the answer is yes!
Digital printing on handmade paper is a service we can provide for you but I know many brides love to diy their wedding invitations so we have put a handy guide on how to digitally print handmade paper at home on your printer.
WHY CHOOSE HANDMADE PAPER?
Before diving into the technical details, let’s explore why handmade paper is such a popular choice:
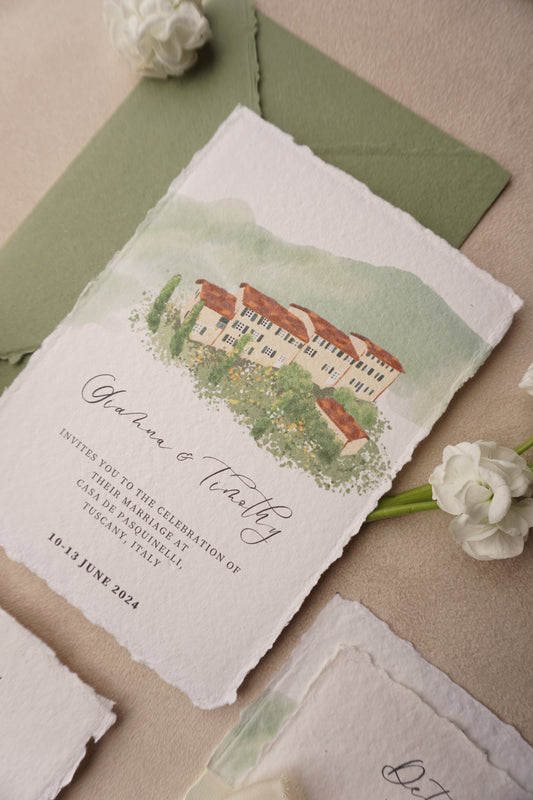
UNIQUE TEXTURE - Each sheet of handmade paper is unique, with a textured finish that adds depth and character.
ECO- FRIENDLY - Eco-Friendly: Handmade paper is often crafted from recycled materials, making it a sustainable choice.
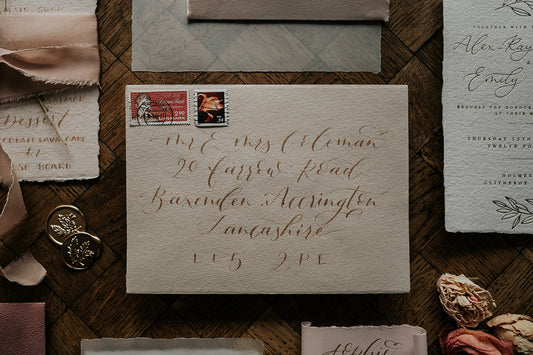
AESTHETIC APPEAL - The deckled edges and natural fibers give handmade paper a distinctive, luxurious look.
WHAT PRINTER DO I NEED?
Not all digital printers are created equal, and some may handle handmade paper better than others. These are our tips for which printer would work best.
MANUAL FEED - To be able to print on handmade paper on your printer at home we have found that it must have a manual feed slot. These are normally located at the back of the printer.
INKJET - We have also found that ink jet printers print much better on handmade paper.
PREPARING YOUR DIGITAL PRINTER
ADJUST PRINTER SETTINGS
Paper Type: Set your printer to the closest paper type available, such as “Heavyweight” or “Textured.”
Print Quality: Choose a higher quality setting to ensure the best print results on textured surfaces.
Paper Feed: Use the manual feed tray, as it allows better handling of thick or textured paper.
DESIGN CONSIDERATIONS
Ink Coverage: Avoid designs with large solid areas of colour, which can lead to uneven printing or smudging.
Font Choice: Select bold and simple fonts that will stand out against the textured background.
Alignment: Pay attention to margins and alignment to ensure your design fits well within the deckled edges.
We advise to keep the design away from the edges as handmade paper neutrally has an uneven edge your design will never line up perfectly so avoid straight boarders which show any un-alignments a lot.
PRINTING PROCESS
Single Sheet Feeding: Feed one sheet at a time to prevent jams and ensure each sheet prints perfectly.
Drying Time: Allow extra drying time for the ink to set on the textured surface to avoid smudging.

COMMON PROBLEMS
PAPER NOT FEEDING - With handmade paper and its uneven edge your printer may struggle to feed some sheets in. If this happens try rotating the sheet and sometimes a little pressure on the sheet when its being picked up can help.
SMUDGING ON SHEET - This is something that is really difficult to avoid even with professional printers, so dont worry its normal. Any ink caught on the edges once dried can be easily torn off and some ink that may lie on the surface can be cleaned up with a soft rubber.
WONT PRINT ON THE PAPER - If your printer is feeding in the paper but wont print on it due to the printer not recognising the paper type. You can trick your printer by sticking the sheet to the middle of an A4 sheet and feeding it in this way. just ensure your printer is set to print to A4 and the design is in the middle. We dont recommend this for larger print runs though as its very time consuming
Blog posts
View all-
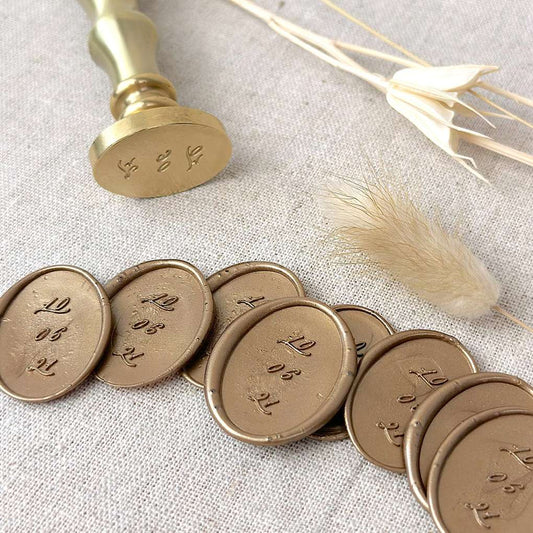
Personalised Wax Stampers
Introducing our Personalized Wax Stampers, the perfect finishing touch for your invitations, gifts, and crafts! Available now in our store, these custom wax stampers allow you to add a unique...
Personalised Wax Stampers
Introducing our Personalized Wax Stampers, the perfect finishing touch for your invitations, gifts, and crafts! Available now in our store, these custom wax stampers allow you to add a unique...